
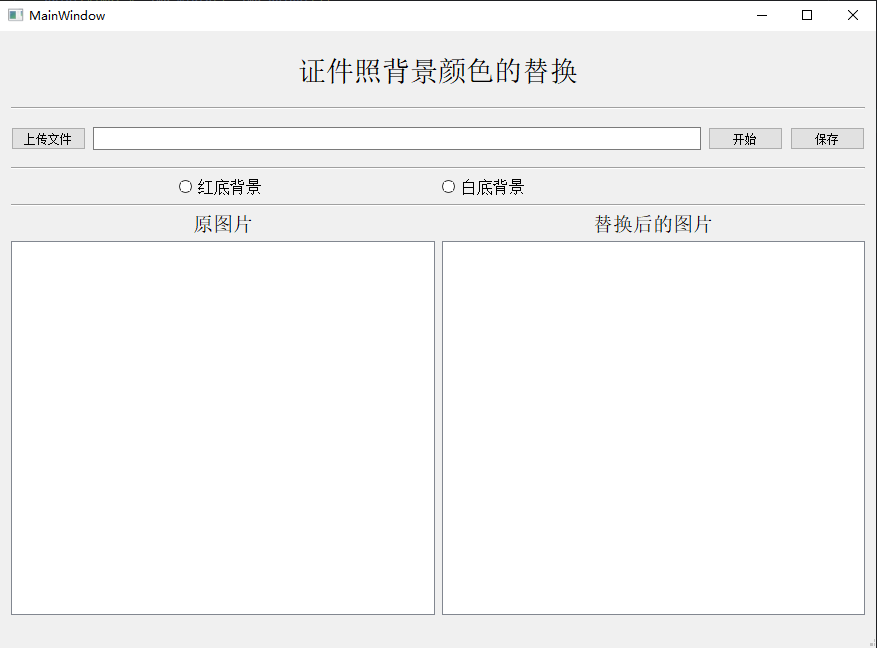
GUIinterface for your convenience. The general appearance of the interface is actually not much different from the previous one. Everyone should have read the content of the previous article.The general appearance of the interface
remove background color
removebgofficial link is:
api_key: https://www.remove.bg/api#remove-background
def remove_bg(self):
    api_keys =  "self-registered api_key"
     rbg = RemoveBg(api_keys,  "error.log" )
    rmbg.remove_background_from_img_file(imgNamepath)
add the color we want
no_bg_image = Image.open(in_path)
x, y = no_bg_image.size
new_image = Image.new( 'RGBA' , no_bg_image.size, color= "red" )
new_image.paste(no_bg_image, (0, 0, x, y) , no_bg_image)
new_image.save(output_path)
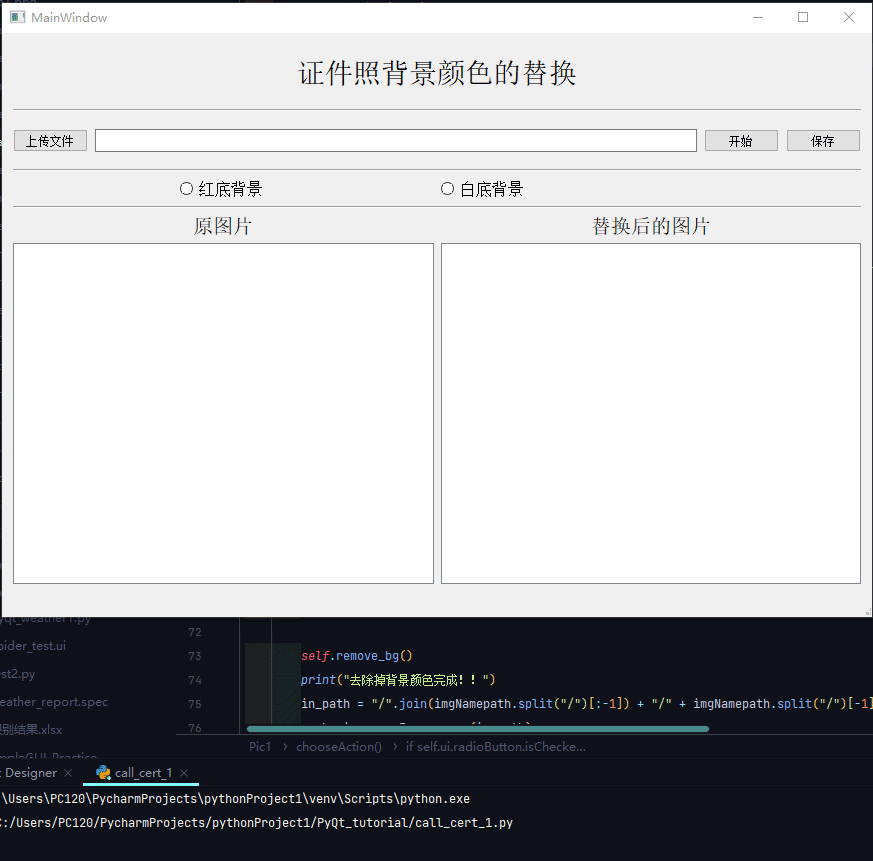
GUI, the control we use in the interface to display the image is the graphicsViewcomponent. After we click the "Select Image" button, after uploading the image, we need to graphicsViewdisplay the image in the window. The code is as followsdef openImage(self):
global imgNamepath # Here, for the convenience of referring to the image path elsewhere, set it to the global variable
imgNamepath, imgType = QFileDialog.getOpenFileName(self.ui, "select image" , "D:\\" , " *.png;;*.jpg;;All Files(*)" )
# Get the image file through the file path, and set the length and width of the image to the length and width of the label control
img = QtGui.QPixmap(imgNamepath).scaled(self. ui.graphicsView.size(), aspectMode=Qt.KeepAspectRatioByExpanding)
print ( "img: " , img.width(), img.height())
self.ui.graphicsView.setFixedSize(img.width(), img.height ())
# Display the selected picture on the label control
item = QGraphicsPixmapItem(img)
scene = QGraphicsScene()
scene.addItem(item)
self.ui.graphicsView.setScene(scene)
self.ui.graphicsView.repaint()
# Display the path of the selected picture
self.ui.lineEdit.setText(imgNamepath)
past review Musk said that he had uploaded his brain to the cloud, and netizens were hotly discussing!
It's the first time that Sa Beining has partnered with digital people to host!
A 7-year-old boy had his finger cut off by a robot because he played chess too fast?
share
Favorites
Like
click to see
